Foster and son bespoke shoes #3 – pattern making, clicking and broguing
1. Pattern making
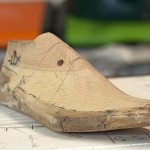
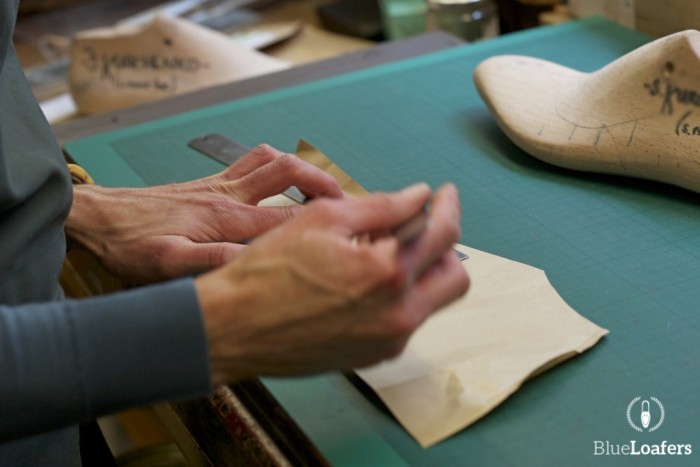
The next step, after taking measurements and preparing the last (see my previous post), is the pattern making. Emma, Fosters specialist, starts with placing the last on a piece of paper and drawing the center line of the last. Everytime similar operation takes place, Emma always make sure that there is sufficient allowance made for a good measure. She also has to allow for the three-dimensional shape of the last.

Pattern making at Foster and Son
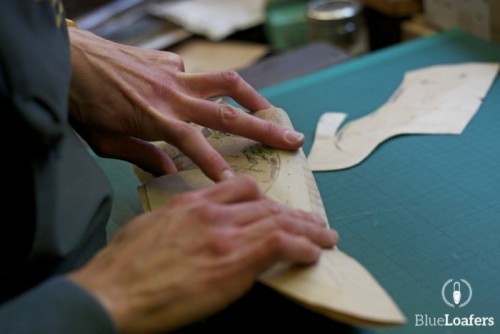
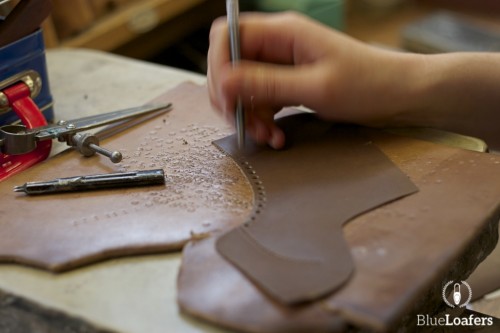
Accurately cut piece of paper pattern being checked against last’s centerline
Paper pattern has to allow for 3D shape of the last
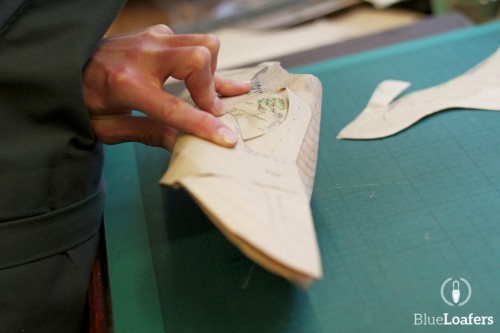
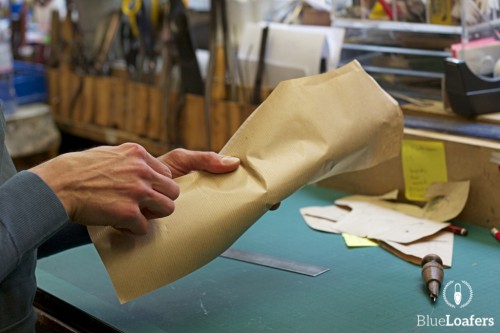
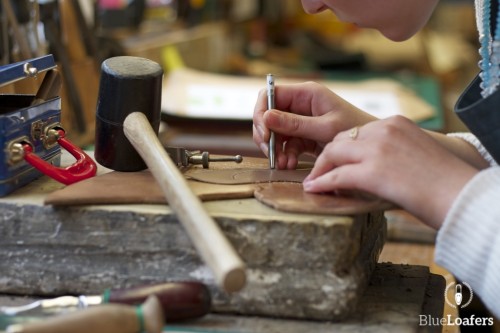
Emma is preparing a new pattern
Further adjustments to the pattern
Creating a patter for three dimensional model of a human feet
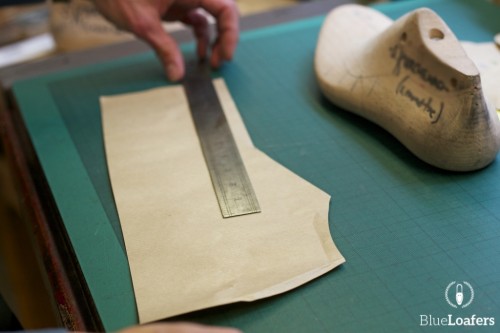
The exact number of pieces that has to be cut depend on the style of the shoe. There can be as many as 7 patterns depending on the particular model. Each of these elements has to be carefully checked against the last to make sure that they are all placed in a right position, that they are of correct size and finally that the proportion compared to customer’s feet are correct.
Emma said, when I asked about the most difficult shoe, that she ‘hates’ double monks or monks in general. The upper part of the monk is not symmetrical, unlike full or semi brogue shoe. It was also said that it is difficult to place the buckle in a correct position so that the shoe is not loose nor tight. Clearly though, considering Fosters popularity and experience they do a good job.
2. Clicking, finishing and brogueing
Once all the patter pieces of paper are prepared they go to Lucy – the clicker, finisher and broguer (I am not that sure about the last term ;)).
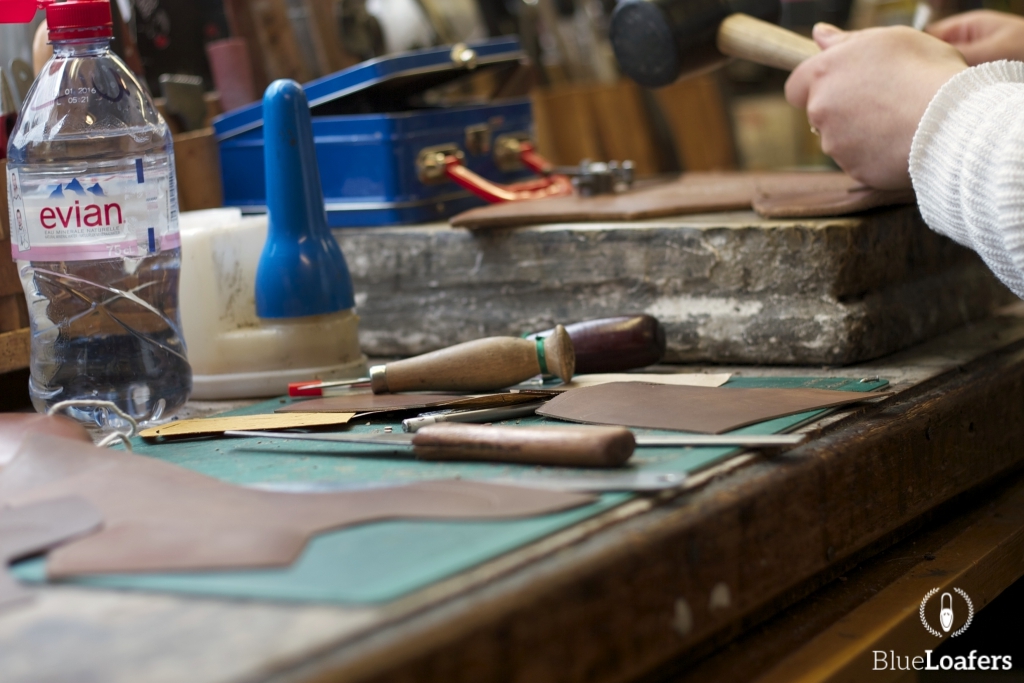
Lucy’s desk and her tools
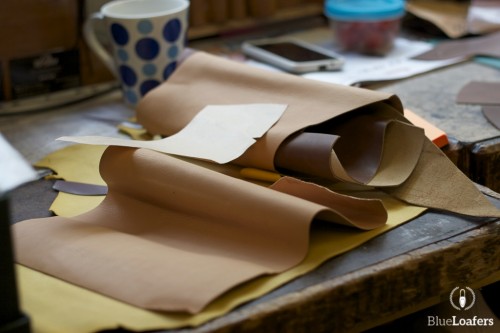
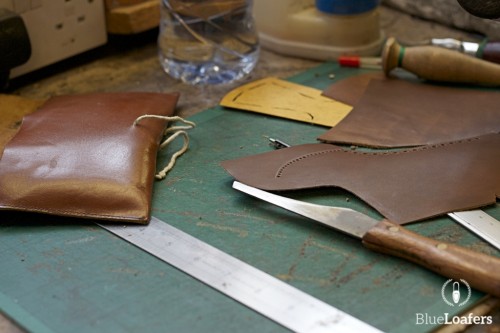
Leather prepared to be cut
Lucy’s one of the most important persons in the process of bespoke shoemaking. Her work directly influences the final look of the shoe. The precision, accuracy and attention to detail will all be visible when wearing shoes. More over, she has to carefully place each pattern piece on the leather in order to minimize rejects. It is also important to check the leather for any marks or defects and place the pattern so that these are avoided.

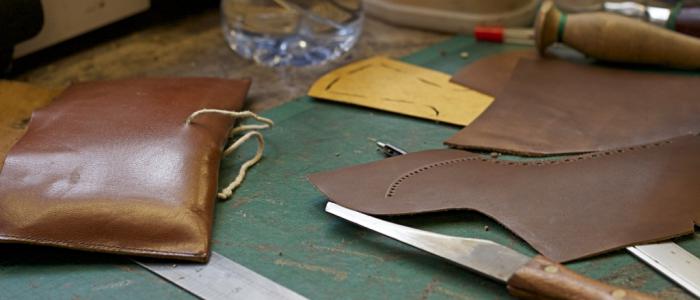
Shaped pieces of leather with some broguing on them
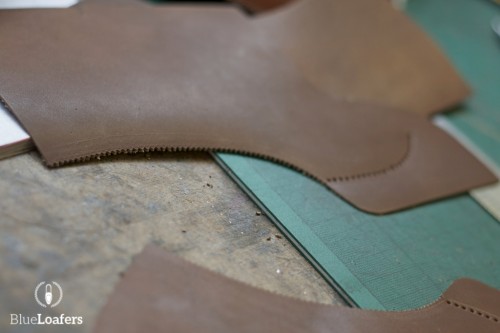
Brown leather for a brogue shoe
Lucy not only cuts the leather (clicker) but also finishes them. You can spot it on the photo above – the edges of each piece are decorated by what is called gimping. This process also has a practical function because it strengthens the edge. It is being done by a steel tool which can have various size therefore creating different look. The edge which is going to be sewn is first skived – a process where the two edges of an upper – same in thickness – are pared down in order to create a perfect, flat joint.
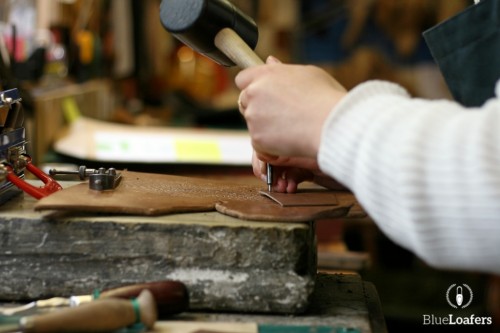
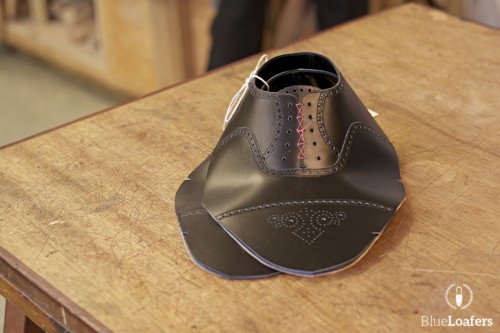
Finally – decorating called brogueing
Punching the holes
Not all shoes need this step in the bespoke process, although quite many do indeed. Obviously the brogues. Brogue can be full, semi or quarter, depending on the amount of decorations, full being the most decorative. Lucy does not mark each and every hole, she believes her eye and only marks the upper and bottom line of the hole. I believe it can also be done by marking only the central line of the holes – it is up to each artist, there is no right or wrong method. Placing them in the right distance is totally up to her eye and intuition. Holes are punched in a certain distance from the edge which allows the seam to be placed on both sides of the hole. Holes emphasize the line of the wamp or quarters.
Lucy – the clicker and finisher – and her desk at Foster and Son workshop
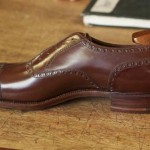
Finished uppers ready to be placed on a last
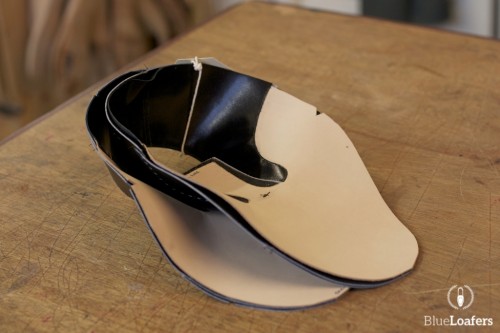
Note more that one layer of leather and a mark showing left or right foot
3. Stitching the upper
Once all the leather pieces are finished and the brogueing is placed another layer of leather have to put – the lining. The lining is cut in a similar way as the upper part, though not exactly the same. It is made of a soft but hard-wearing leather. The lining is not being stitched together along each edge to the upper because there are also other elements which has to be placed between them, i.e. heel and toe stiffeners or side support. It is very important at this stage to also make sure that the lining is not extended over the upper leather. These stitches – lining to upper – are only one made by a machine at Fosters. It is worth noticing that all work has been done by hand, even these stitches, up to mid 19th century, when the sewing machine was built.
The last step in the bespoke process is the construction itself, this is made by a shoemaker. Unfortunately I was not able to take part in this process, at Fosters it is being done in a shoemakers own workshop, not in the premises at Jermyn St. However, I have already written a post on bespoke shoes by Laszlo Vass from Budapest, post can be found here. There are photos there presenting the process of placing the uppers on a last and then ‘closing’ it with a sole. There are more detailed stages of this but just to give you a quick info, this brief description should suffice. The whole process of soling needs definitely a complete separate post.
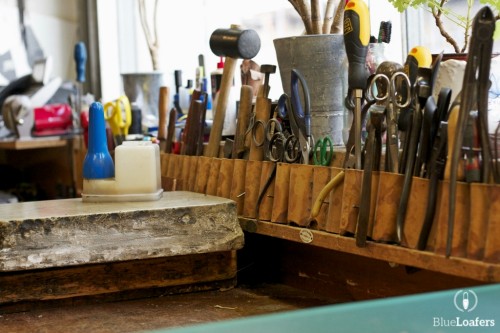
Lucy’s tools for clicking and finishing
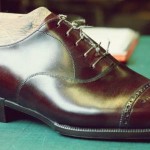
In the final post of the series I will present some of the Foster and Son bespoke shoes. Stay tuned. Little preview below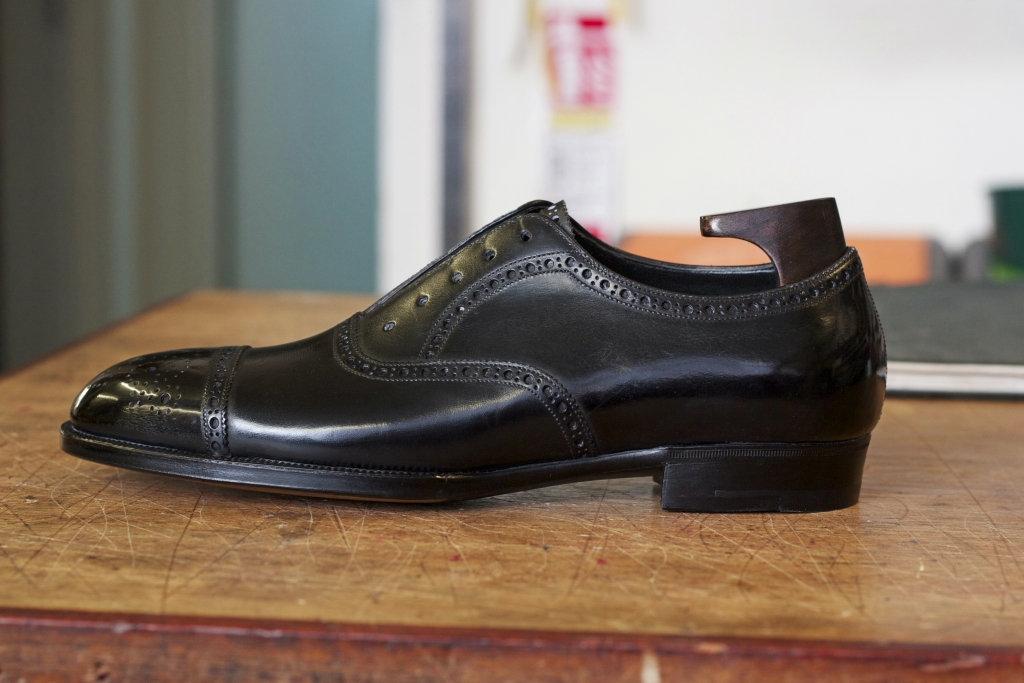
If you like what I do here and be up to date with new post please consider following me on Facebook. You will find more of my inspirations on Tumblr and a little bit of private life on Instagram too.